docusign-apps
Zendesk for Docusign Documentation
This is the documentation for the Zendesk integration with Docusign.
How to Install and Configure
Installing the App on Docusign
Please follow the guide to install the Zendesk app from the Docusign App Center.
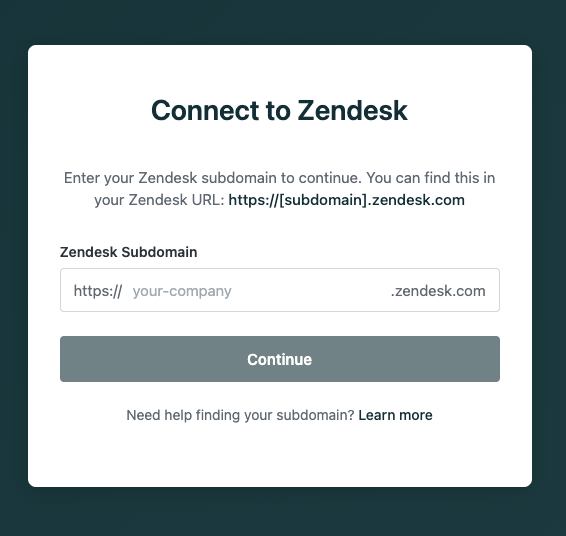
Once the app is installed, you’ll be prompted to connect the app to Zendesk. You will need to add your Zendesk subdomain.
If you’re not already logged in to Zendesk, you’ll be directed to the Zendesk login screen, where you can log in to your account.
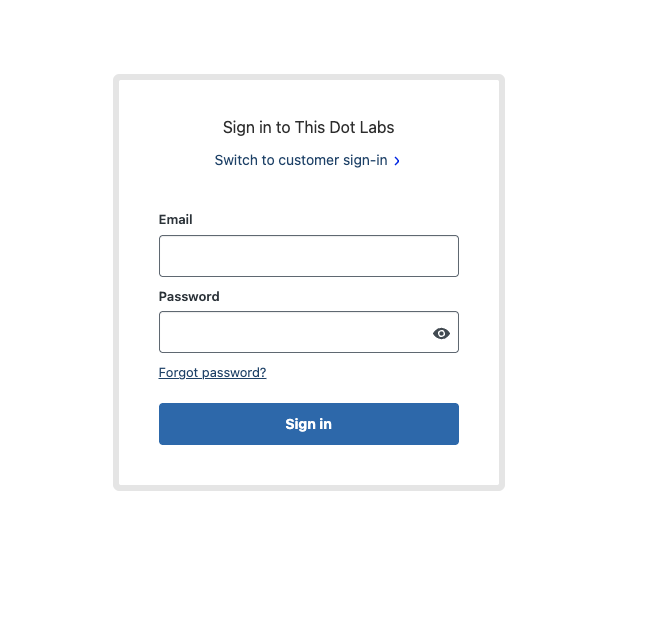
Please log in to proceed to the “Grant Permission” screen. Click Allow to allow the app to connect to your Zendesk account.
In the list of installed apps, the Zendesk app should now appear as active:

How to Use the App
The Zendesk extension for Docusign simplifies creating, updating, and attaching files to Zendesk tickets within a Maestro workflow. Once the app is installed, different Zendesk options become available when adding new steps in the Workflow builder.
You can start by creating a new workflow:

In the workflow, when adding a new step, you’ll see three possible Zendesk steps:
- Export documents to Zendesk to attach your Docusign envelopes to a Zendesk ticket.
- Writeback to Zendesk to create or update tickets in your Zendesk account.
- Read from Zendesk to read ticket information, such as a ticket ID, for use in other steps.

A common approach is to start with the Writeback to Zendesk step to create a new ticket. This can be done by providing the required ticket fields like subject and description.
Note: A ticket subject is always required to create a new ticket.
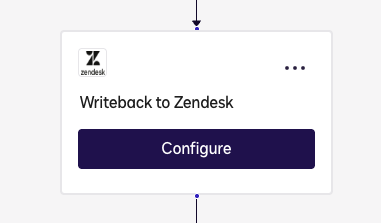
Click Configure on the step:
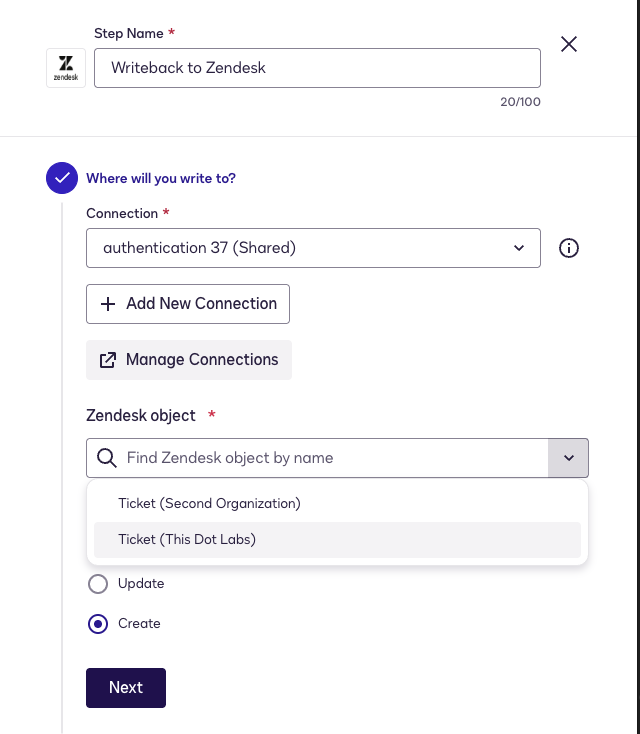
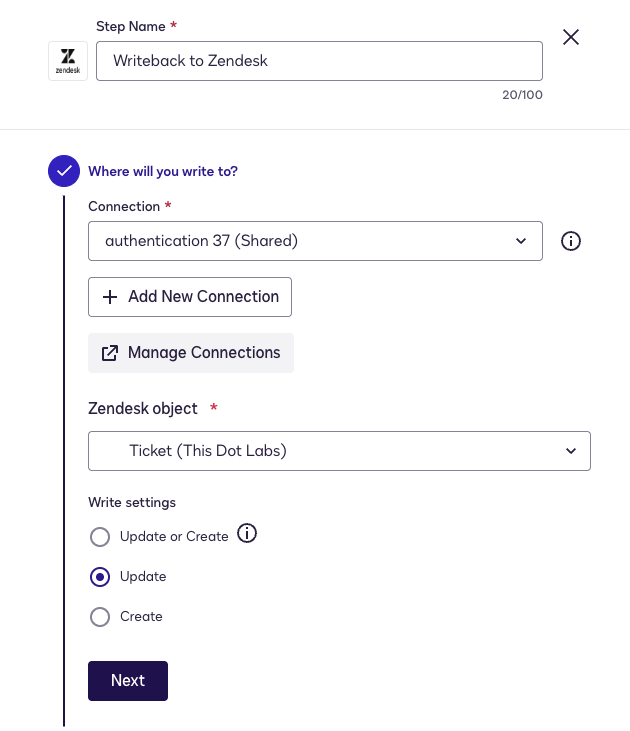
Now, configure the step to write to a Ticket. Select the organization where you want to create the ticket. In this case, we will only select the option to create:
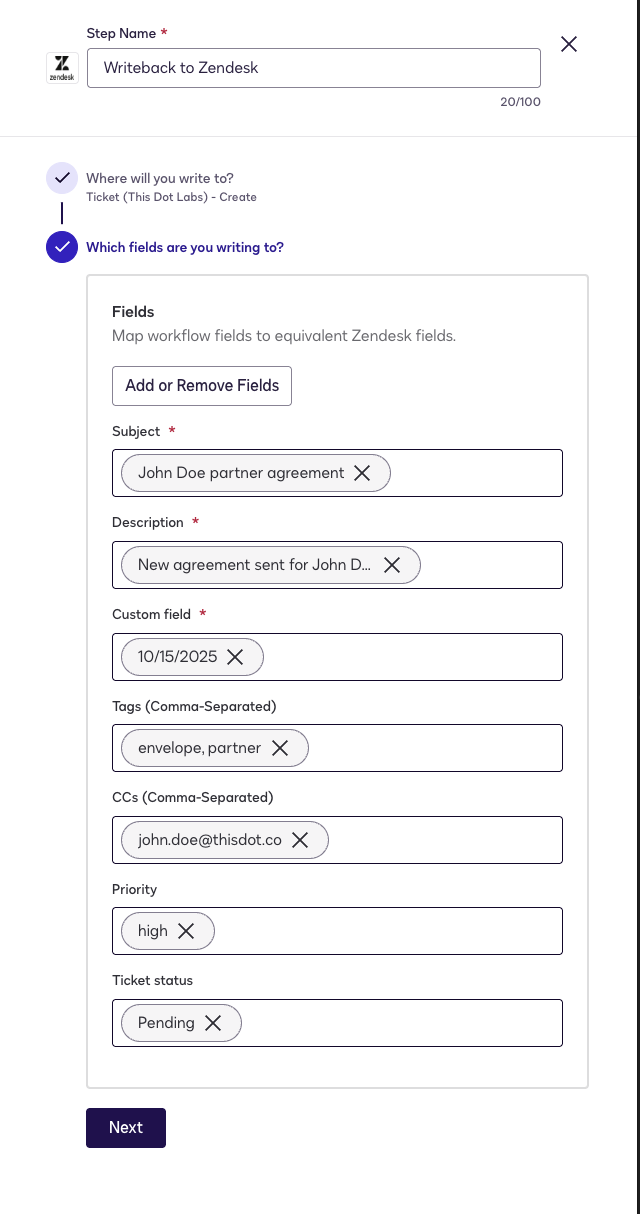
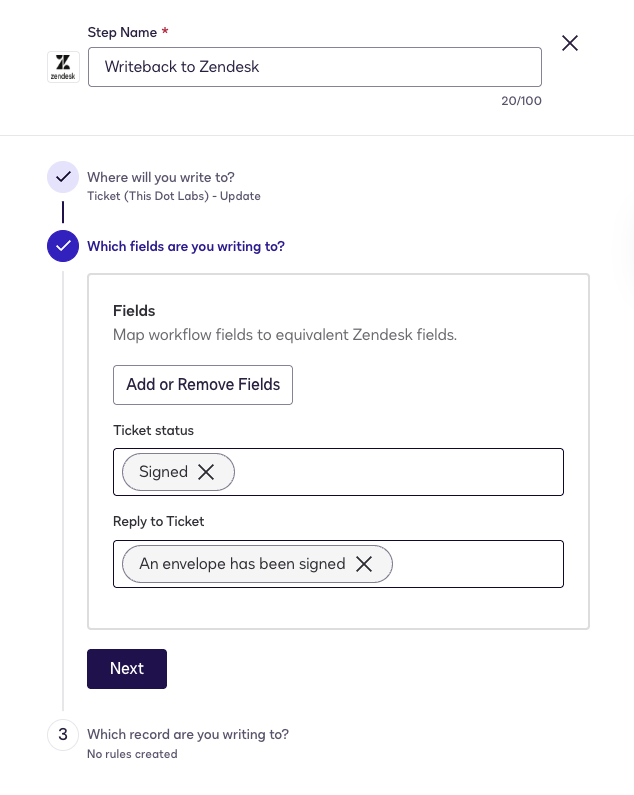
Click Next to navigate to the Which fields are you writing to? section. Here, add the required fields like Subject and Description:
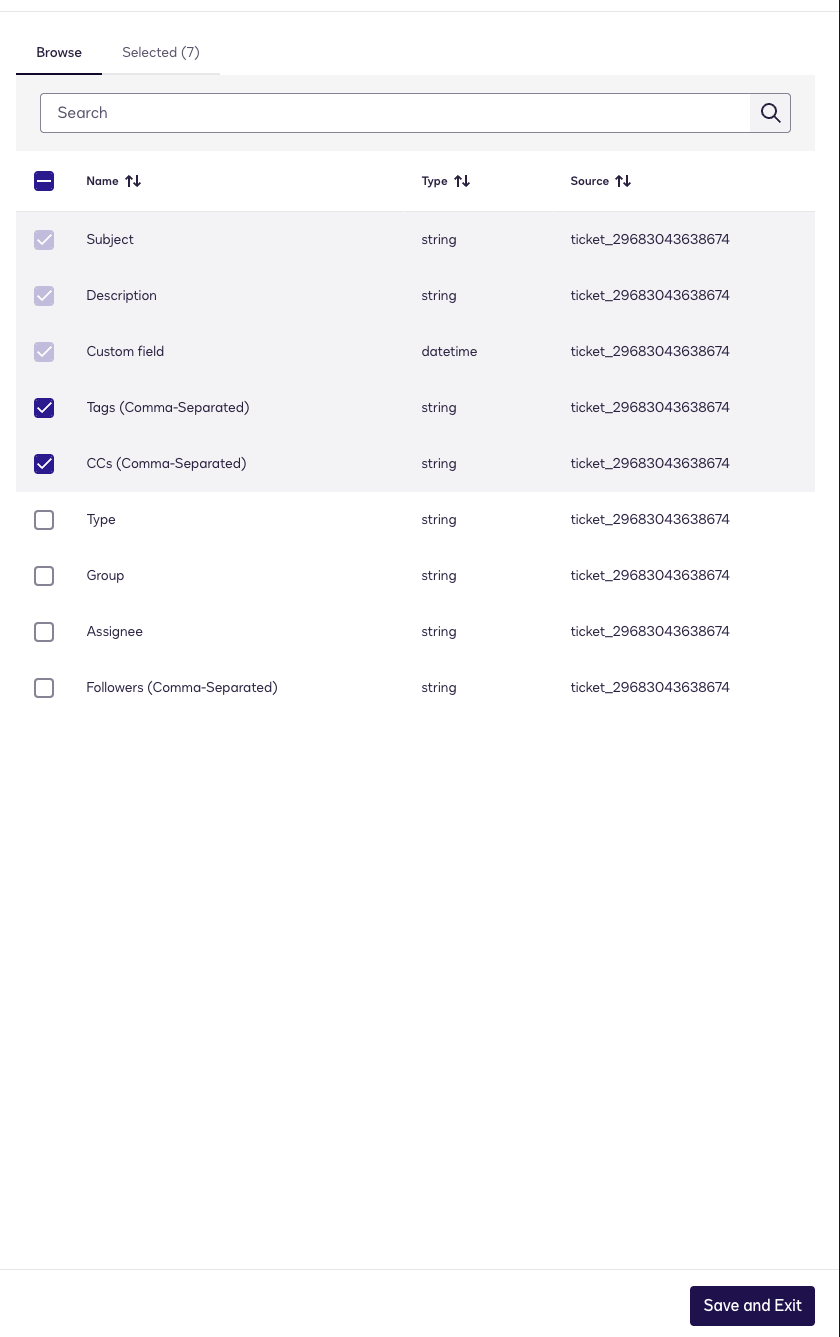
Workflow fields can be mapped to any variable within the workflow. For instance, you can use a Web Form to dynamically add these values, or manually enter them.
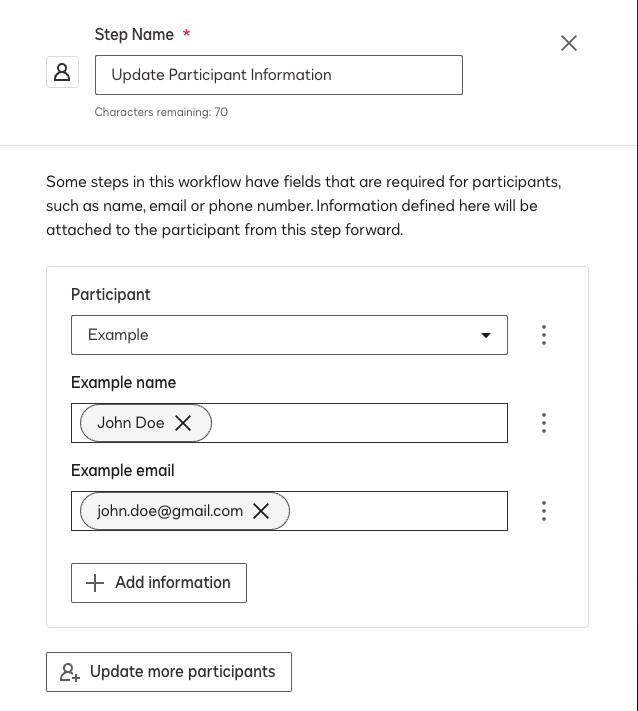
Next, add the Get Signatures step. This step will collect the signature and assign the person’s name and email to the envelope.
In this step, the Maestro workflow will prompt you to add a participant. You can then map the name of the person to sign to Name and their email to Email, respectively.
Once the signer signs the envelope, the next step is to attach the envelope to the Zendesk ticket. Add the Export documents to Zendesk step to accomplish this. First, select Ticket as the drive:
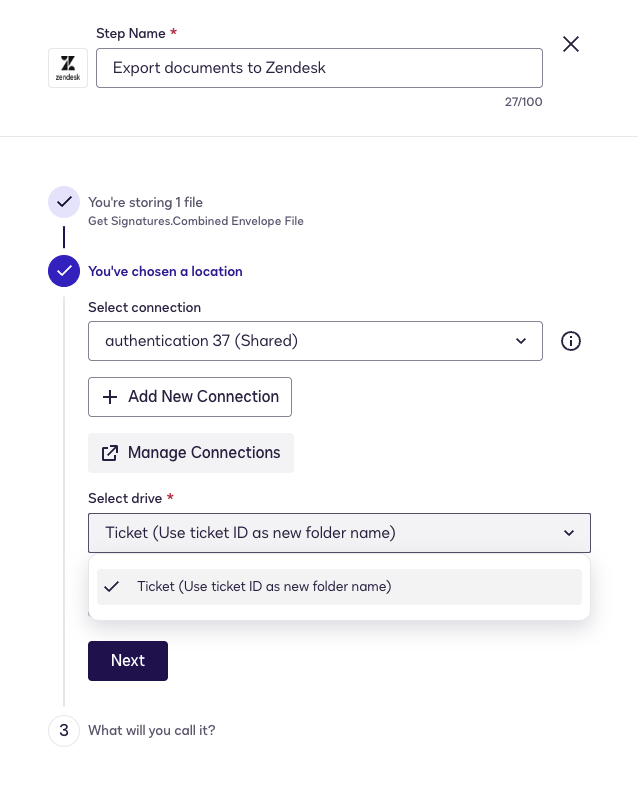
Then specify the ticket by either:
- Mapping the Ticket ID from the previous Writeback to Zendesk step as a new folder
- Entering a ticket number directly as a new folder
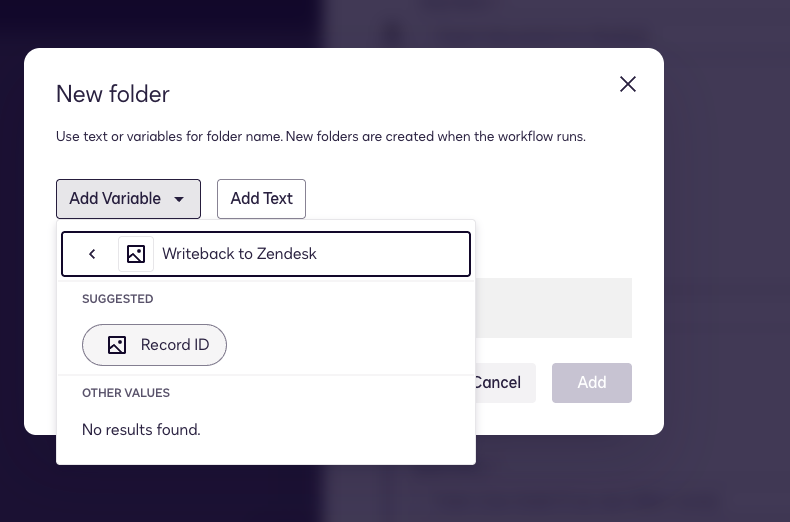
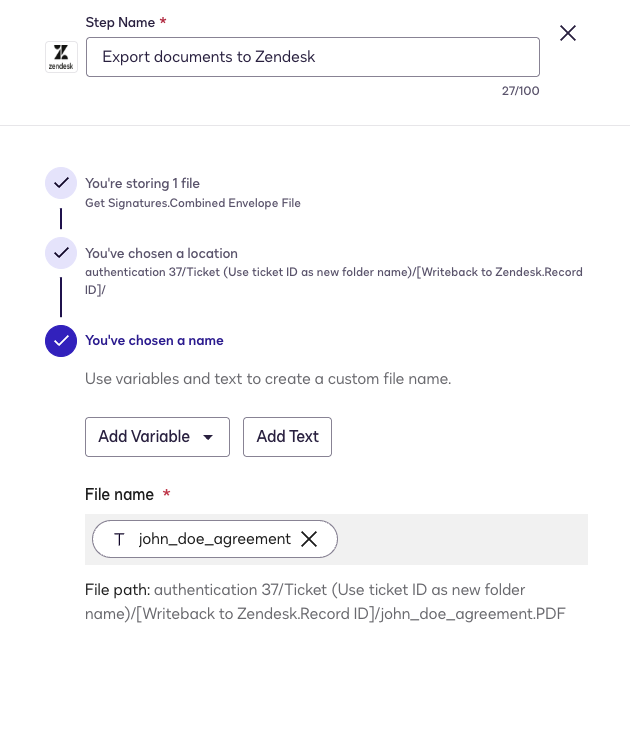
After specifying the ticket, add the name of the file. The document will be attached as a comment to the ticket.
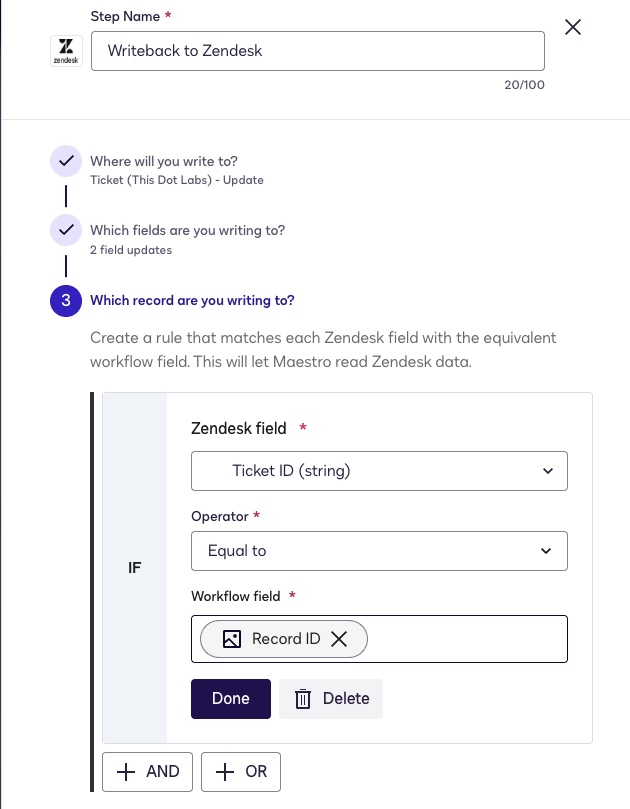
Next, use Writeback to Zendesk step one more time to update the ticket status. In this case, we will only select the option to update:
Under Which fields are you writing to? select the Status field and set it to “Solved” or another status that indicates the envelope has been signed.
Inside the Which record are you writing to?, provide the Ticket ID that we got from our previous step so it can locate the correct ticket to update:
Finally, the specified ticket will be updated with the new status.
That’s it! With this workflow, you can easily upload envelopes and update your tickets using the Zendesk app.
Important Note: When searching for recently created or updated tickets, always use the Ticket ID or ticket number in your search criteria. Zendesk can take a few minutes to index new tickets, so searching by other fields (like status or priority) might not find tickets that were just created.
FAQ
Can I update an existing ticket without having to create it first?
Yes. Using the Read from Zendesk step, you can find tickets by their ID, status, priority, assignee, or any other field, and then update them.
Why do I see different ticket types for each organization?
If you have multiple organizations in your Zendesk account, you’ll see them listed as separate options (e.g., “Ticket (Acme Corp)”, “Ticket (Example Inc)”). Each organization may have different custom fields and settings, so they appear as separate ticket types.
Can I use my custom fields in workflows?
Yes. All custom fields you’ve created in Zendesk will appear in the field lists. They’ll have an id_ prefix followed by a number (e.g., id_12345).
Can I enter ticket numbers manually?
Yes, you can manually type in a ticket ID or ticket number anywhere it’s needed - in the Read from Zendesk, Writeback to Zendesk, or Export documents to Zendesk steps.
Can I search for tickets using multiple conditions?
Yes. You can combine multiple search conditions using AND/OR logic. For example, find tickets where:
- Status is “open” OR “pending”
- AND Priority is “high”
- AND Assignee is a specific person
What happens if I search for a ticket that was just created?
If you need to find a ticket that was just created or recently updated, use the Ticket ID or ticket number in your search. Searching by other fields (like status or priority) may not work immediately because Zendesk takes a few minutes to update its search index.
How are files attached to tickets?
When you attach a file to a ticket, it’s added as a comment with the message: “A new Docusign envelope has been sent from a Maestro workflow.” The file appears as an attachment on this comment.
What ticket information can I read and update?
You can work with most standard Zendesk ticket fields:
- Subject, Comments, Status, Priority, Type
- Assignee, Group
- Tags
- Due Date (for task-type tickets)
- Followers, CCs, or Collaborators
- Brands
You can also use any custom fields you’ve created in your Zendesk account.
Note: The following custom field types are not currently supported:
- Attachment fields
- Regular expression (regexp) fields
- Lookup relationship fields
If you have custom fields of these types in Zendesk, they will not appear in the available fields list.
Can the app create new tickets?
Yes. In the Writeback to Zendesk step, select “Create” and fill in the required fields (at minimum, the subject).
Important: The “Create or Update” option currently only performs update operations. If you need to create new tickets, use the “Create” option instead.
Can I attach files to multiple tickets?
Yes. You can add multiple Export documents to Zendesk steps to your workflow, specifying a different ticket for each one.
Can I search by a person’s name instead of their user ID?
Yes. You can search for tickets by:
- Email address (e.g.,
john.doe@example.com) - Full name (e.g.,
John Doe)
This works for assignees, requesters, and any other user fields.
What’s the difference between Description, Reply, and Internal Note?
These three fields serve different purposes when working with tickets:
-
Description: Used only when creating a new ticket. This sets the initial ticket comment that appears at the top of the ticket thread.
-
Reply to Ticket: Used only when updating an existing ticket. This adds a new public comment to the ticket’s conversation thread. Comments are visible to both agents and end users (if the ticket is shared with them). Use this when you want to add new information or updates to an ongoing ticket conversation.
-
Internal Note: Used only when updating an existing ticket. This adds a private note that only agents can see - end users will never see internal notes. Use this for agent-to-agent communication, such as documenting internal research, leaving notes for other team members, or recording information that shouldn’t be shared with customers.
Important: When updating a ticket, you can add either a Comment or an Internal Note, but not both in the same update operation. Choose the one that fits your needs.
What are custom status fields?
Some Zendesk accounts have custom statuses (like “Awaiting Customer Response” or “In Progress”). The app automatically handles these - you can use the status name you see in Zendesk, and the app will translate it to the correct internal value.
What format should I use for date fields?
Date fields should follow the yyyy-mm-dd format. For example:
2025-11-07for November 7, 20252024-01-15for January 15, 2024
This applies to all date-type fields, including custom date fields and the Due Date field for task-type tickets.
What ticket types can I create?
You can create any of the standard Zendesk ticket types:
- Question
- Incident
- Problem
- Task
Specify the type when creating a ticket using the Type field.
Support
If you encounter any issues with the app or have feedback, please do not hesitate to contact us at zendesk-support@thisdot.co.